Hey Everyone! So this is a different type of Makeup Tip Monday. It involves making your very own organic lip balm. I have been making a bunch of it to give away at the Bridal Bazaar in San Diego. So I will be giving you a step by step tutorial on how to make it yourself!
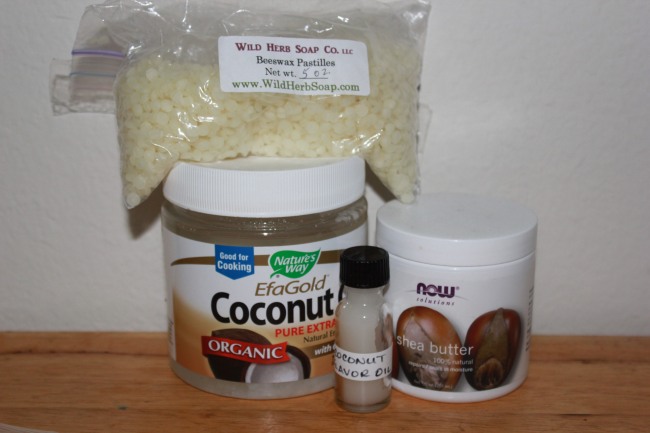
Step 1: Get all your ingredients. I used Organic Coconut Oil as the primary ingredient, Organic Beeswax, Organic Shea butter and I decided to add Coconut flavor because I LOVE coconut. 🙂 I got my Coconut Oil from Sprouts. The Beeswax and Shea Butter I got from a girl on etsy. Her shop is Wild Herb Soap Company, https://www.etsy.com/shop/WildHerb.
Step 2: You need to figure out if you want to use tubes or pots. For my purpose it was best to go with tubes. Since I was making 100 tubes, I took a box and cut holes in it so that I can stand up my tubes. This makes it easier to pour into.
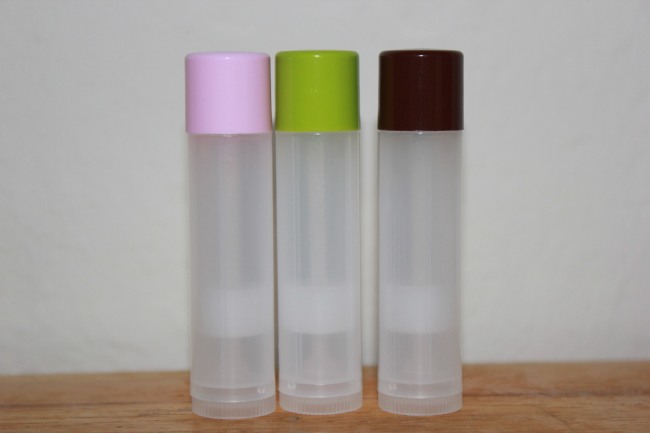

I got my tubes on etsy from this company, https://www.etsy.com/people/escentialsoa. I ordered colored tops that would match my logo. I also got the flavoring from them as well. I LOVE matching!
Step 3: You put all the ingredients in a double boiler. Or if you don’t have one like me I took a Pyrex measuring cup and placed it into a deep saucepan with a few inches of water. Then turn it on medium heat and watch for it to all melt. Beeswax will take the longest.
Step 4: When all melted, pour carefully into each tube until it reaches the top. Wait for them to cool a bit and then put the lids back on. When completely cooled you can add your labels if you have them. I purchased mine from another girl on etsy. Her shop is Inked Papers, https://www.etsy.com/shop/inkedpapers.
Here is the final product:

It was a lot of fun to make these! Now I am going to make more to put in all my bridal emergency kits! I hoped to you liked this tutorial. Give it a try…your lips will thank you. 🙂


